My Layout DCC System and Wiring
.
.
My layout will be both DCC as well as Old School Analog DC wiring and a Hybrid of both in some cases.
These may not be the recommend standards for DCC wiring, but I am not in to the overly automated expensive electronics to make the layout operate.
These may not be the recommend standards for DCC wiring, but I am not in to the overly automated expensive electronics to make the layout operate.
This is my thoughts on how to wire the Turntable for DCC operation without having to purchase and use an expensive Automatic DCC reverser.
I am building my Layout so that I wont need any DCC reversers as I will not have any revering loops or wye's
I am building my Layout so that I wont need any DCC reversers as I will not have any revering loops or wye's
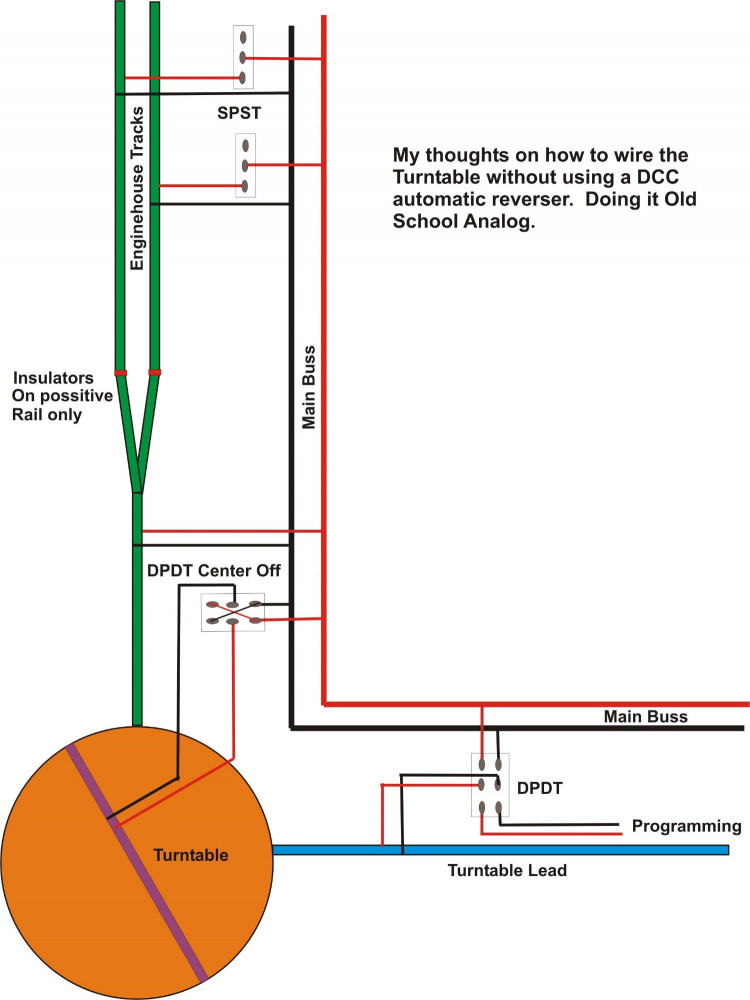
DCC Turntable Wiring
My DCC Control system
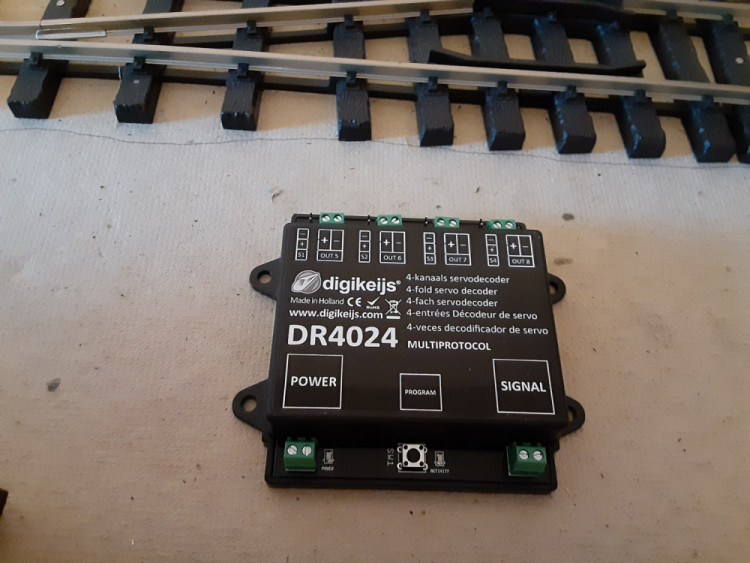
I am using CVP Products Easy DCC system. After talking to a number of other narrow gaugers in large scale about the DCC systems that used and comparing features and prices on the various systems I settled on this system. I was able to purchase two new Master control panels and a 10amp and 5 amp booster for around $400.00, which was about half retail prices, I then purchased two Wireless throttles and the wireless receiver from CVP Products. I am also using digikejis DCC servo controllers for remote turnout operation
see photos below:
see photos below:
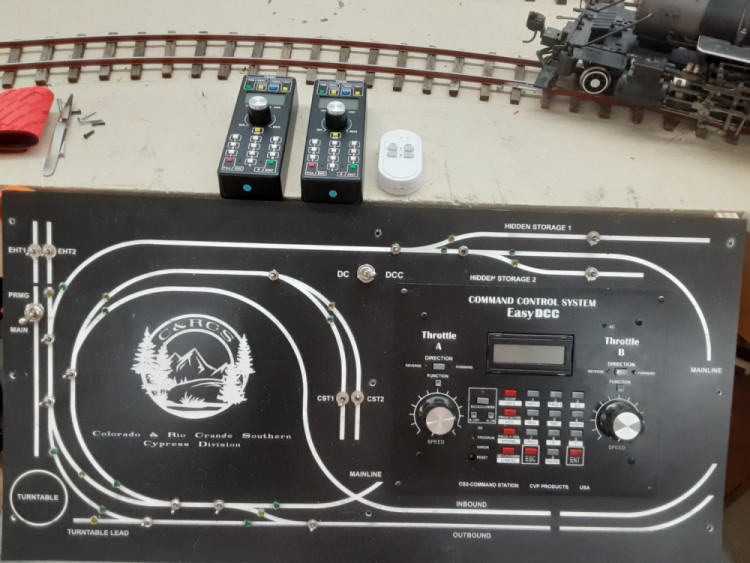
My layout is divided into two districts. District 1 is in the Main 17x11 foot room and has one of the two master control panels. Connected to it is the 10amp booster it as well as the wireless reciver. The lead track in front of the two stall engine house also serves as the programming track, that is selectable from the Main track panel with a toggle switch. see photo below:
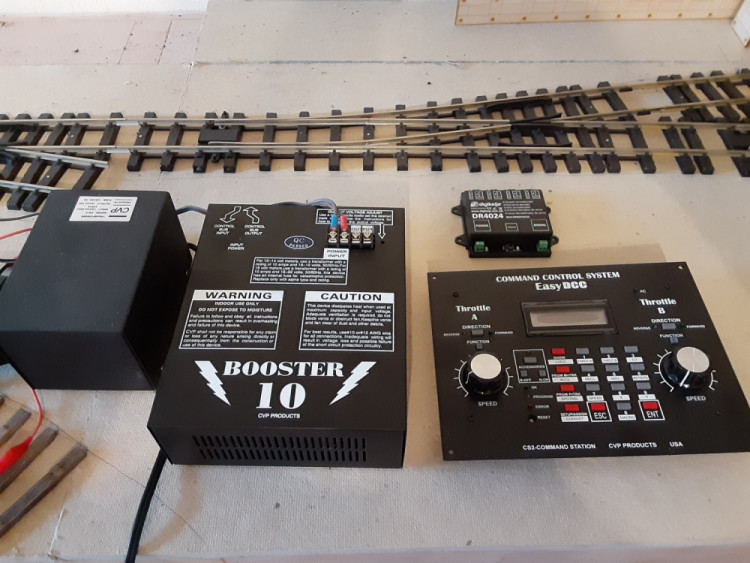
In the Photo above shows the main control panel the two wireless throttles (the newest rechargeable T2300 models) and the 4 button remote that turns on the DCC equipment in the main room as well as the 5amp Booster in the Phase II room that also is used for the Phase III room. The Control panel was designed using Corel Draw and then converted to a Tiff file so I could lazer etch the design and cut all the holes for the switches and the Command Station. This is a two color Plastic thats use for making signs and name tags, as its only 1/8" thick, there is a 1/4" thick sheet of Plexiglass under it for support.
It took about 45 minutes to etch the design on the 12 x 24" sheet and I think it came out really well.
It took about 45 minutes to etch the design on the 12 x 24" sheet and I think it came out really well.
Phase II and III rooms share the 5Amp booster as there is less trackwork in those rooms as the main one, so less amps are needed. Some people have suggested that I should also use a 10amp booster for those rooms combined or get another 5amp booster and use one for each room. I might do that in the future, but for now, I have not have any problems using the one 5amp booster for both rooms. All of my motive power is Bachmann Spectrum 1:20.3 scale locomotives and I have not had any of them draw more than is 1amp while pulling 6 cars which is the max i run on any train due to space limits.
DCC Decoders
I use Soundtraxx TSU-4400 decoders in my C-19 and my (4) 2-8-0's widely called Connie's. I also use a TSU-2200 in one of my 4-4-0's and will use them in my other 4-4-0 and 2-6-0 and they are smaller locos and will only be pulling two passenger cars. these are 2amp decoders.
I also have one TCS WOW501 sound 1600 decoder that is in one of the 2-8-0's. I only have this one because I have not been able to get any additional Tsunami decoders due to the pandemic supply chain issues. See Photos below. I will be doing tutorials on how I install these in the Bachmann Spectrum 1:20.3 scale locomotives and post them here.
I also have one TCS WOW501 sound 1600 decoder that is in one of the 2-8-0's. I only have this one because I have not been able to get any additional Tsunami decoders due to the pandemic supply chain issues. See Photos below. I will be doing tutorials on how I install these in the Bachmann Spectrum 1:20.3 scale locomotives and post them here.
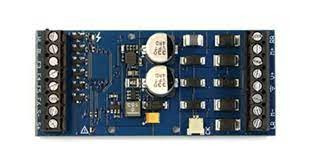
Tsunami2 TS4400 4amp Steam sound decoder 884009. I prefer these as they are easy to wire and will fit inside the Spectrum Boilers as well as tenders with no modifications needed to the locomotive
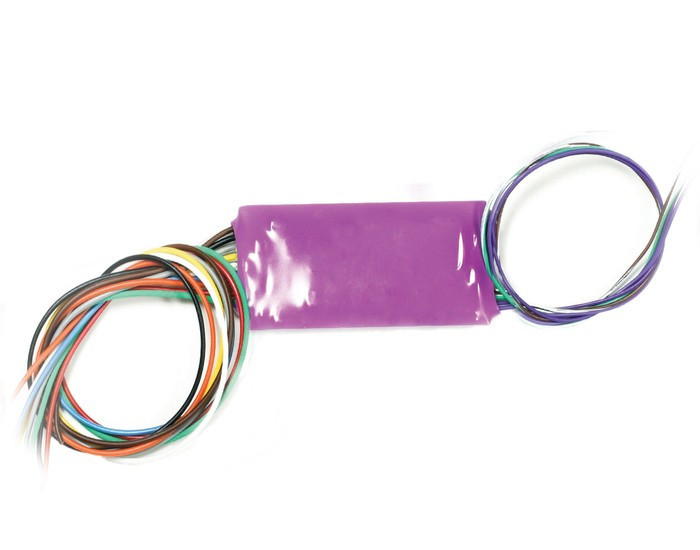
Tsunami2 TS2200 2amp Steam sound decoder, These are small and can be installed in either the tender or boiler of the smaller Bachmann Spectrum 4-4-0's and 2-6-0's.
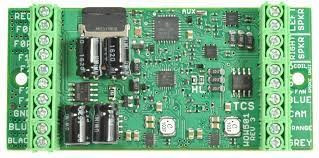
TCS WOW501 Steam sound decoder 1600. This is a 5 amp decoder and is easy to wire as well and has a built in Keep alive. These can easily be installed in the Tender of the Bachamann Spectrum Locomotives, but not the boiler without removing the smoke unit and the plastic circuit board holder and modifying it as it is larger in width than the Tsunami TSU4400.
District 2
District 1
I am using standard DCC wiring methods, There is a main Buss wire that run around the entire layout that is 10ga stranded wire. I use the two wire Red and Black zip cord style of wire.
I am using Suitcase connectors to connect the 18ga solid wire to the Buss wires. these are red and white. the Red connects to the red on the Buss and white to the black on the buss. I used white wire as I have a boat load of it and no black wire at the time.
I am using Suitcase connectors to connect the 18ga solid wire to the Buss wires. these are red and white. the Red connects to the red on the Buss and white to the black on the buss. I used white wire as I have a boat load of it and no black wire at the time.
Double click here to edit this text.
DCC Wiring